18 Easy DIY Side Bangs Haircuts You Can Do at Home
Cutting side bangs at home is simple with the right techniques. Begin by sectioning your hair into a triangle for accuracy.
Use professional scissors to make diagonal cuts, maintaining the bangs’ natural flow and preventing choppy ends. Aim for dry cutting to respect your hair’s curl pattern and guarantee accurate length.
Popular styles include classic side-swept bangs aligned with eyebrow peaks, wispy layered ones achieved via point cutting, and curtain style with precise vertical guides. Tame your bangs using a mini paddle brush, a straightening iron, and light styling products for definition. Discover more styles to perfectly complement your face shape.
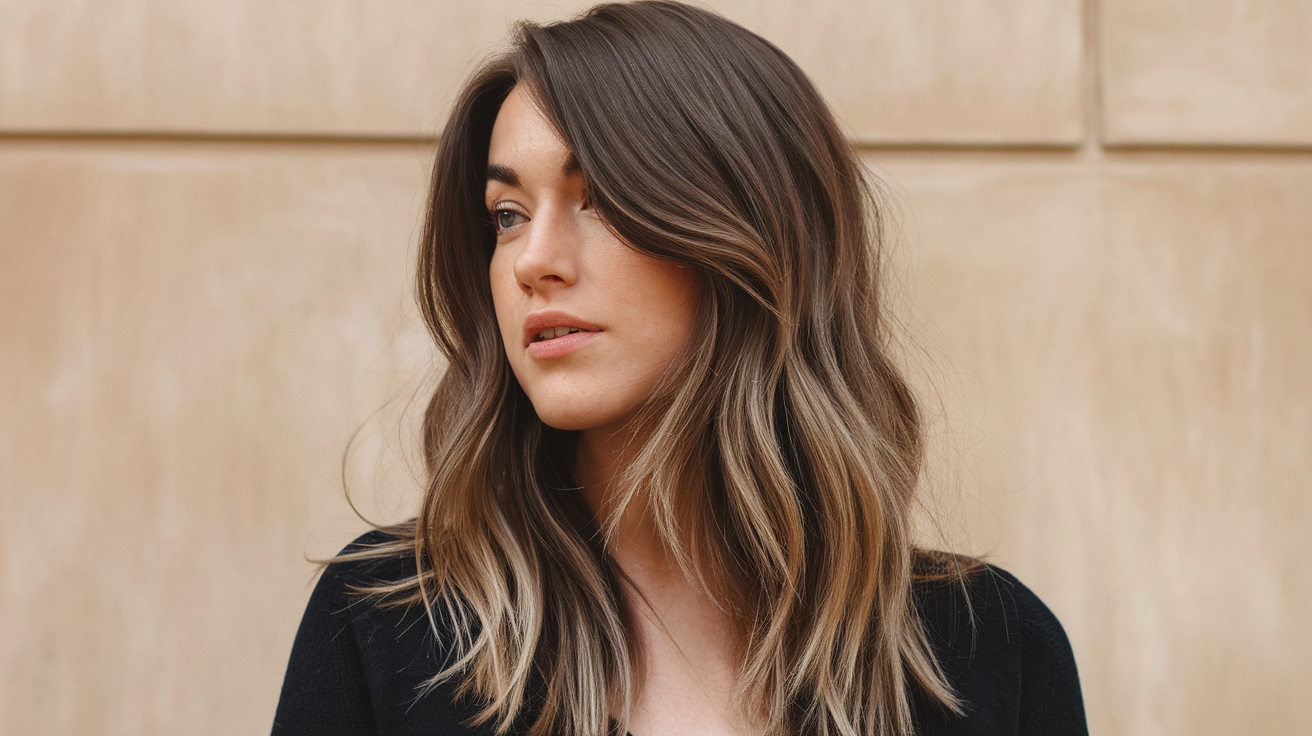

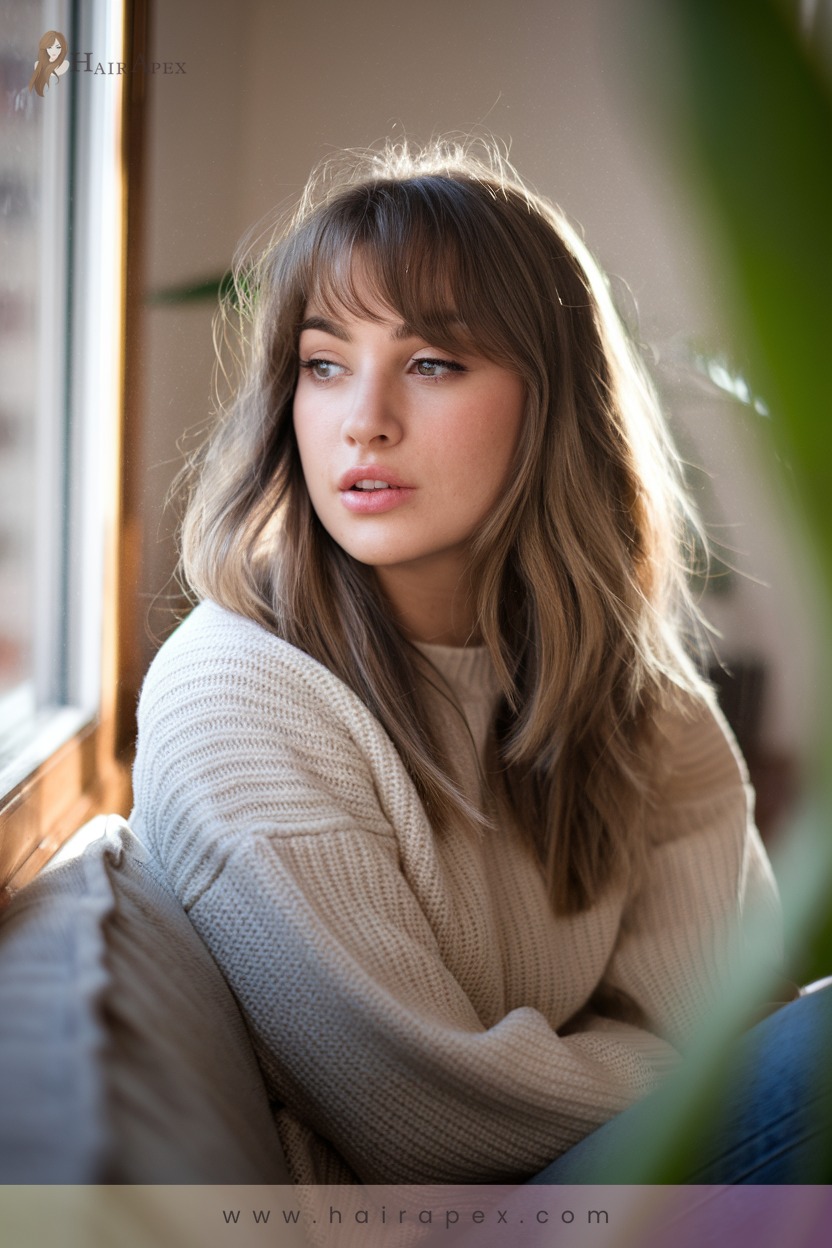
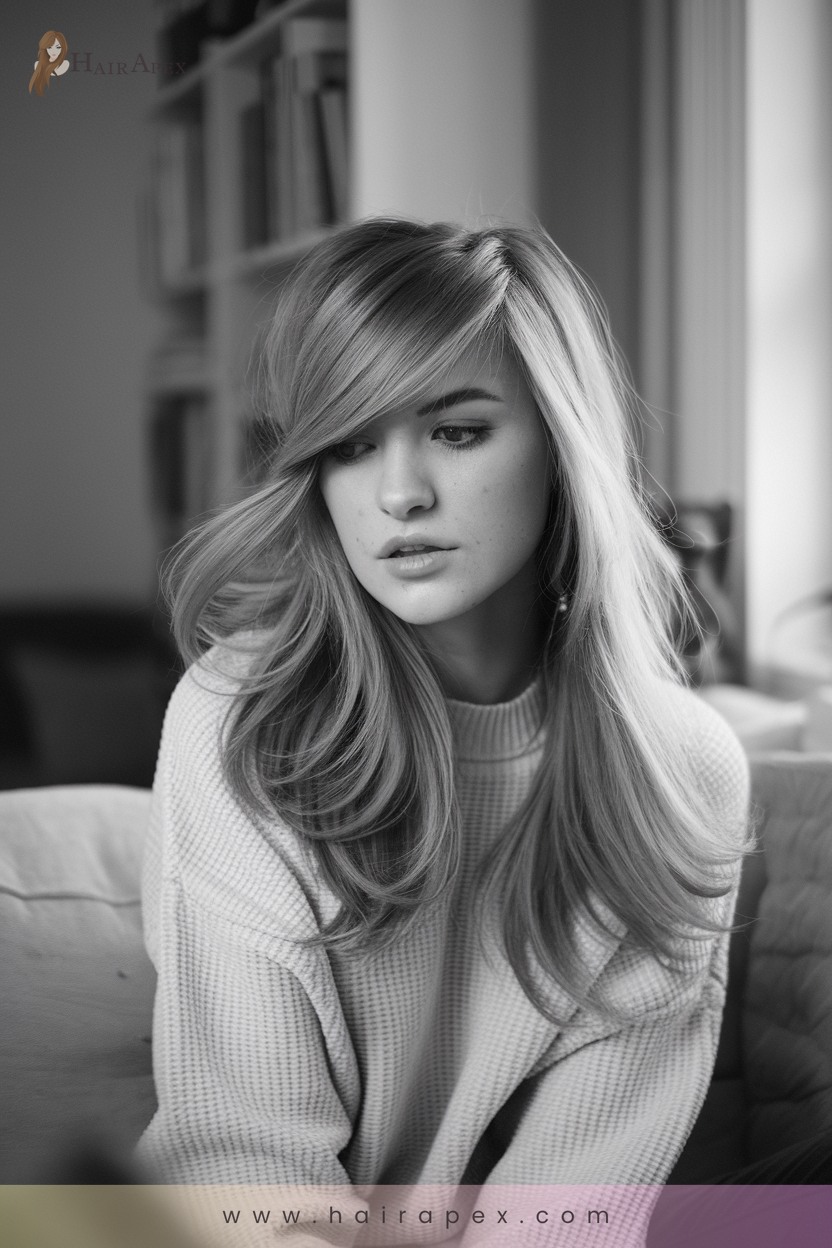
1. Classic Side-Swept Bangs

Creating classic side-swept bangs can transform your look with a chic, diagonal line across your face, flattering all face shapes.
Start by using professional scissors for precision. Blow dry and straighten your hair first to see how it naturally falls.
Use a pin tail comb to section the bangs, aligning with the highest point of your eyebrows. Twist the hair gently, then cut diagonally with gradual cuts to maintain control.
Consider the shrinkage of wet hair, so always cut dry.
To style, use a blowout technique with a grippy brush, enhancing smoothness. Apply hair mousse for hold.
Regular trims are essential to keep bangs looking fresh and well-defined.
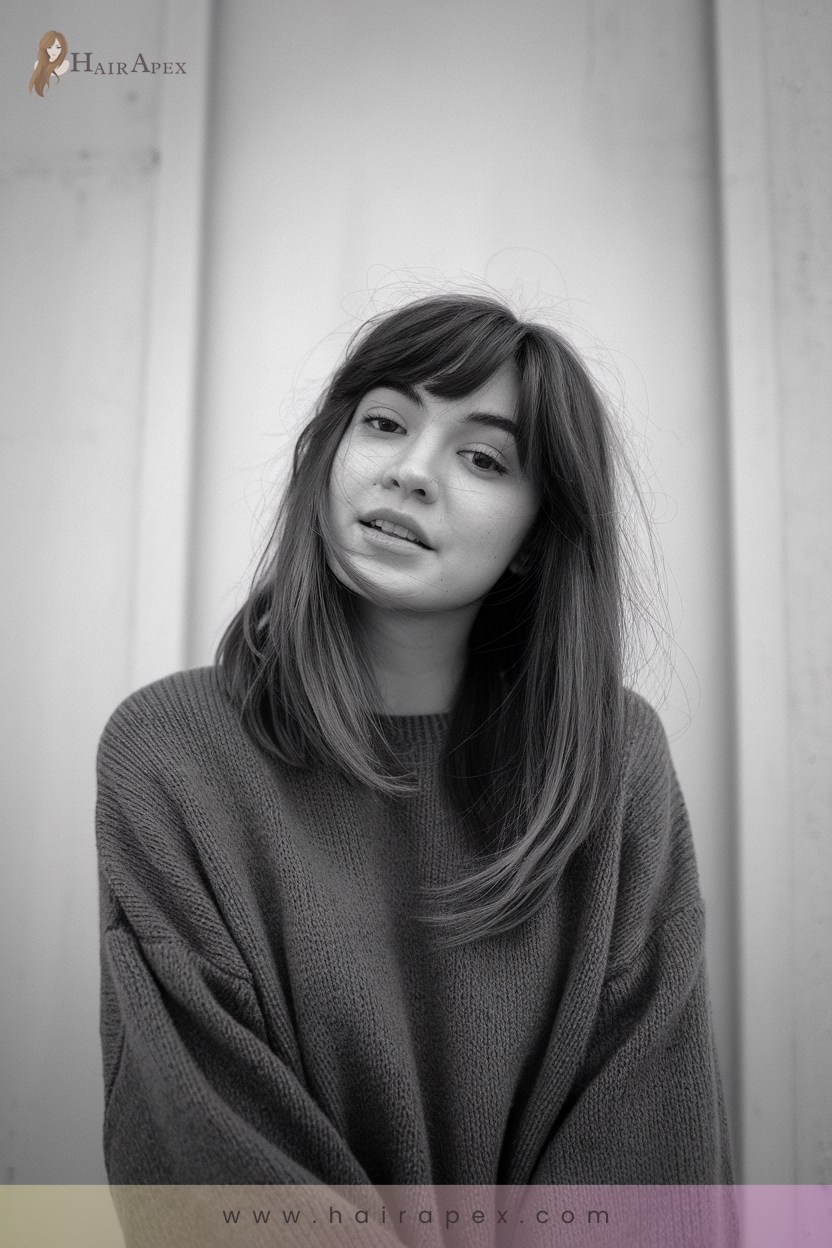
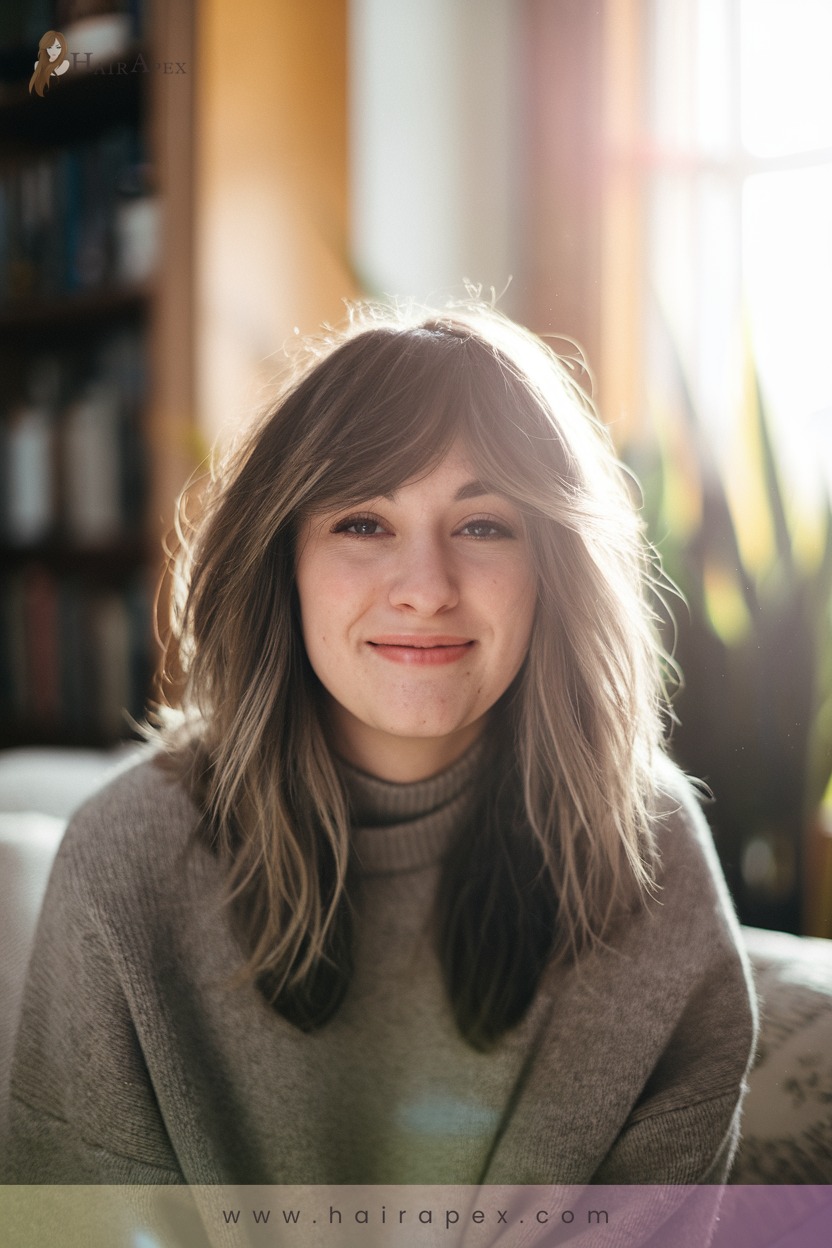
2. Wispy Layered Bangs
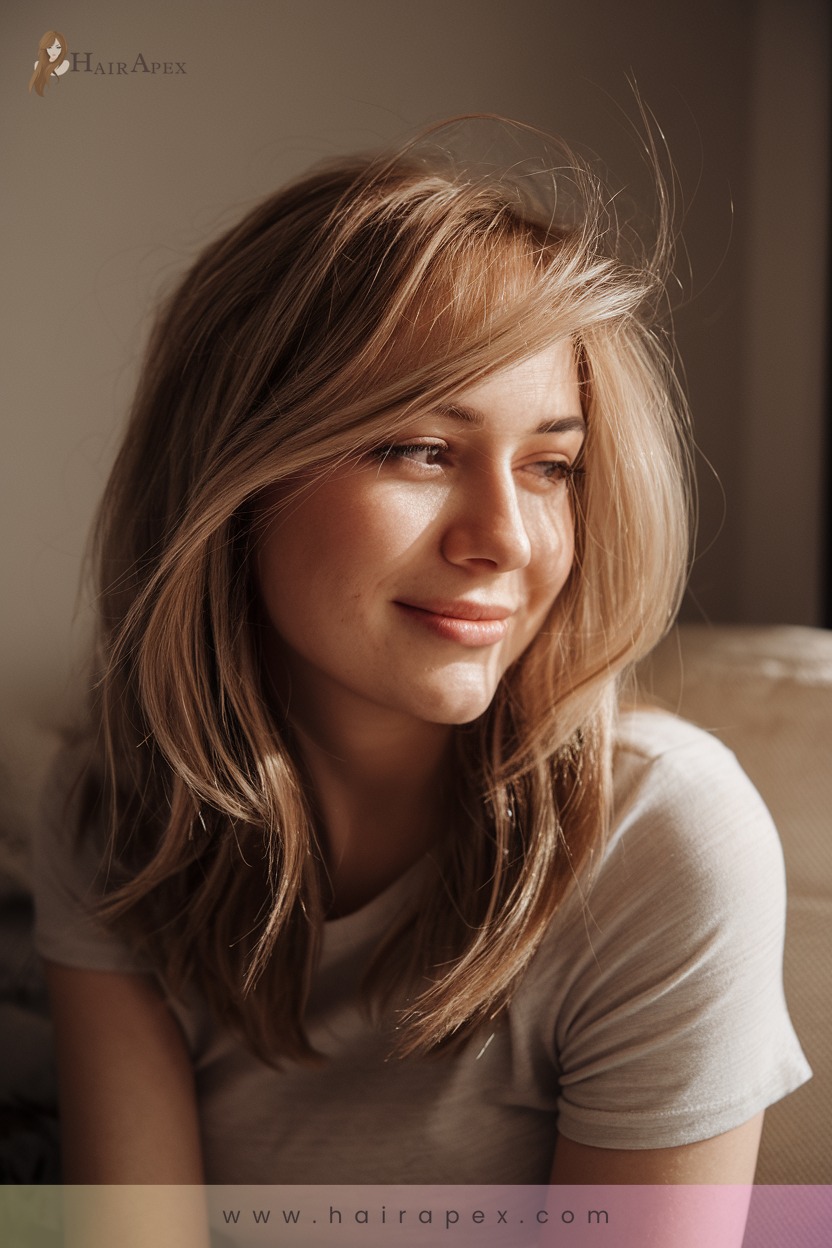
Immerse yourself in the art of cutting wispy layered bangs to elevate your hairstyle with a soft, textured finish.
Start by creating a triangle subsection using the middle part as your guide. Cut diagonally along this section to achieve that coveted wispy look.
Then, refine the edges with point cutting, taking small snips for added texture.
Layer your bangs using an up-and-down texturizing technique for volume.
Styling tips:
- Middle Part: Confirm evenness by starting with a middle part, even if you’ll sweep them to one side.
- Heat Tools: Use a round brush and heat styling tools to set a smooth, curled finish.
- Texturizing Spray: Add volume and depth with a texturizing spray to finalize your innovative look.
3. Long Feathered Bangs
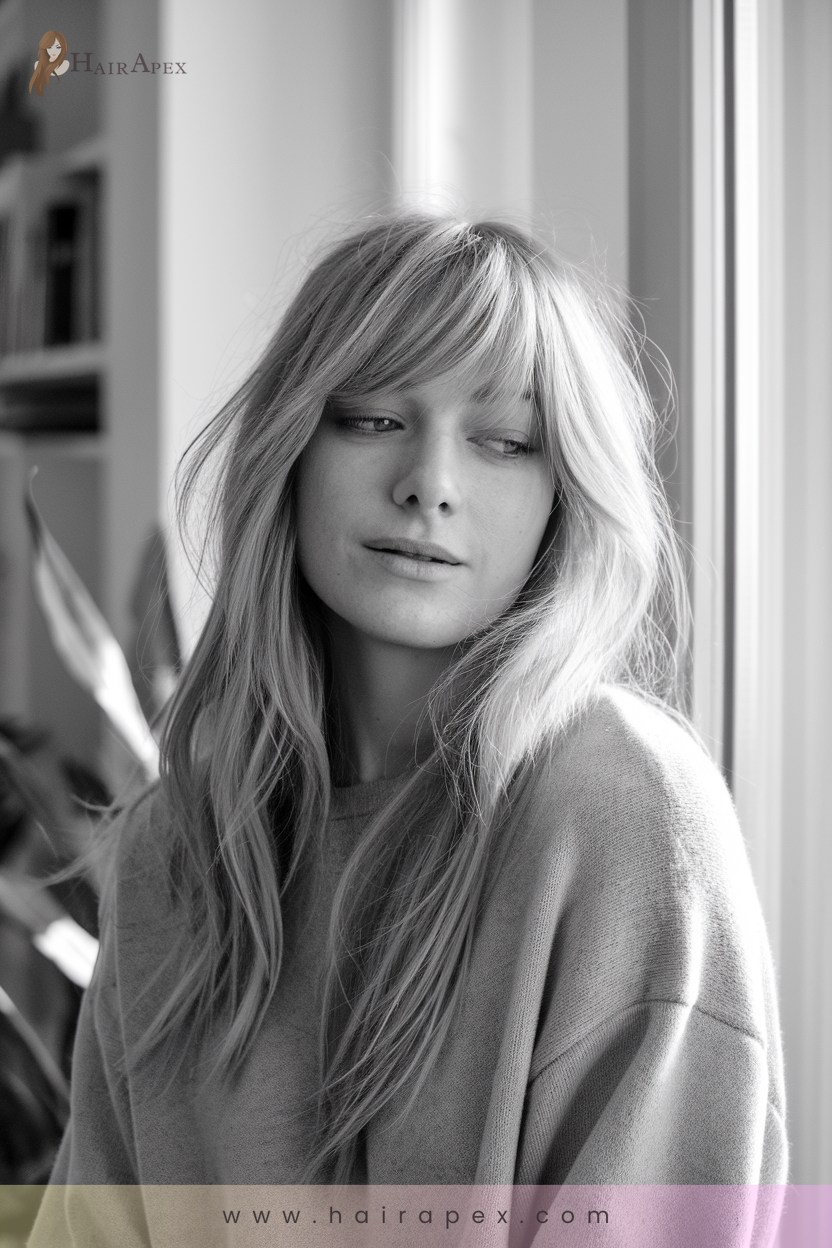
Long feathered bangs bring a timeless elegance to any hairstyle, merging soft layers with a chic side-swept fringe.
Start by sectioning your hair from the hairline to the high point of your ear. Use a double-sided razor with a minimal guard for precision.
Cut your bangs at a steeper angle to elongate the front, ensuring a smooth shift to the back layers.
Employ point-cutting techniques to achieve natural feathering. For enhanced movement, hold sections at a 45-degree angle, and apply texturizing spray before blow-drying.
Blending is key; channel through your hair with a texturizing blade to remove weight and add dimension. Finish with hairspray to set your style, ensuring a polished, innovative look that’s effortlessly chic.
4. Choppy Textured Bangs
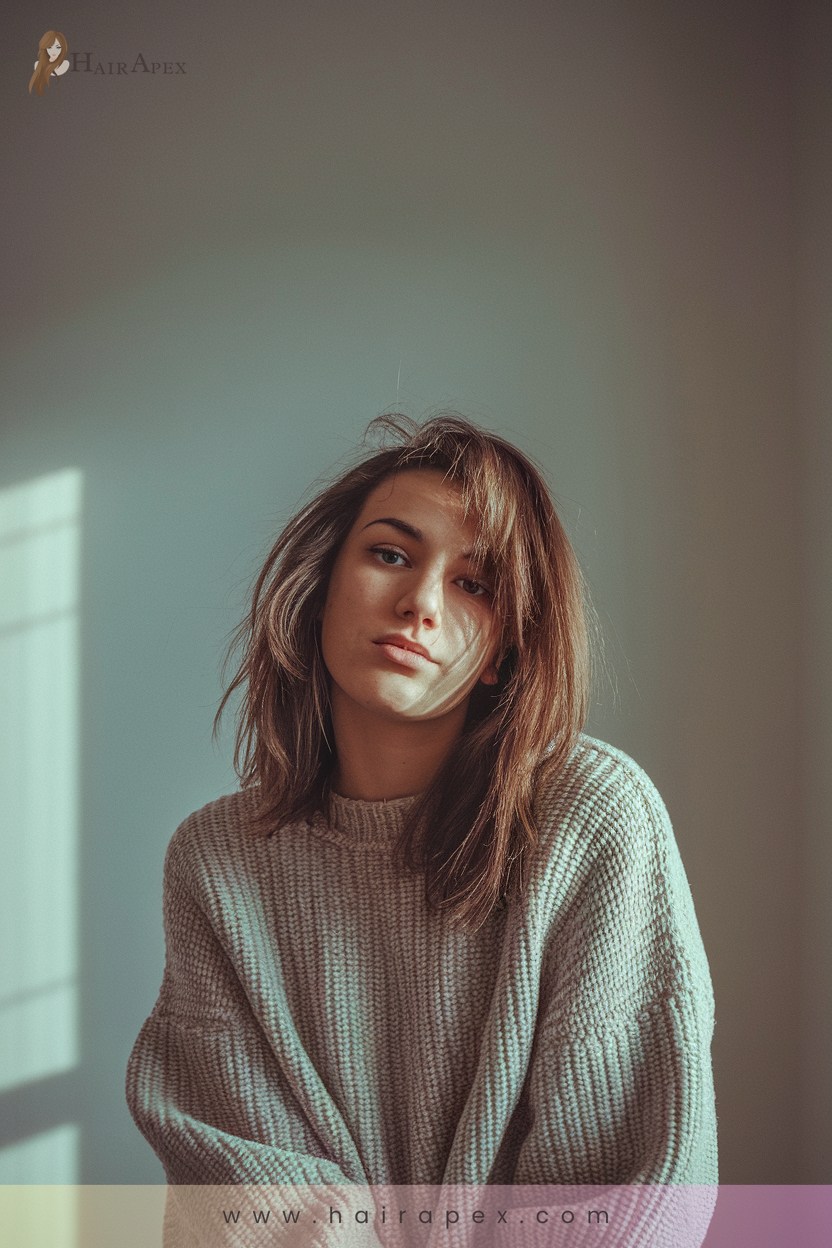
After mastering the elegance of long feathered bangs, it’s time to explore the bold impact of choppy textured bangs.
Begin by sectioning your hair, using double prong clips for control. Identify key points at the recession area and brow bone, ensuring precision.
Pre-style by blow-drying and straightening for alignment accuracy.
When cutting, employ horizontal sections and mirror the floor with your fingers to guide a diagonal cutting motion. Use the inside-out technique for added texture and cut upwards at the ends.
For styling, apply a pin tail comb to part the bangs and blend layers for volume.
Enhance your choppy bangs with these tips:
- Use a texturizing spray for added volume.
- Flat iron with a slight bevel for a natural finish.
- Trim carefully for final adjustments.
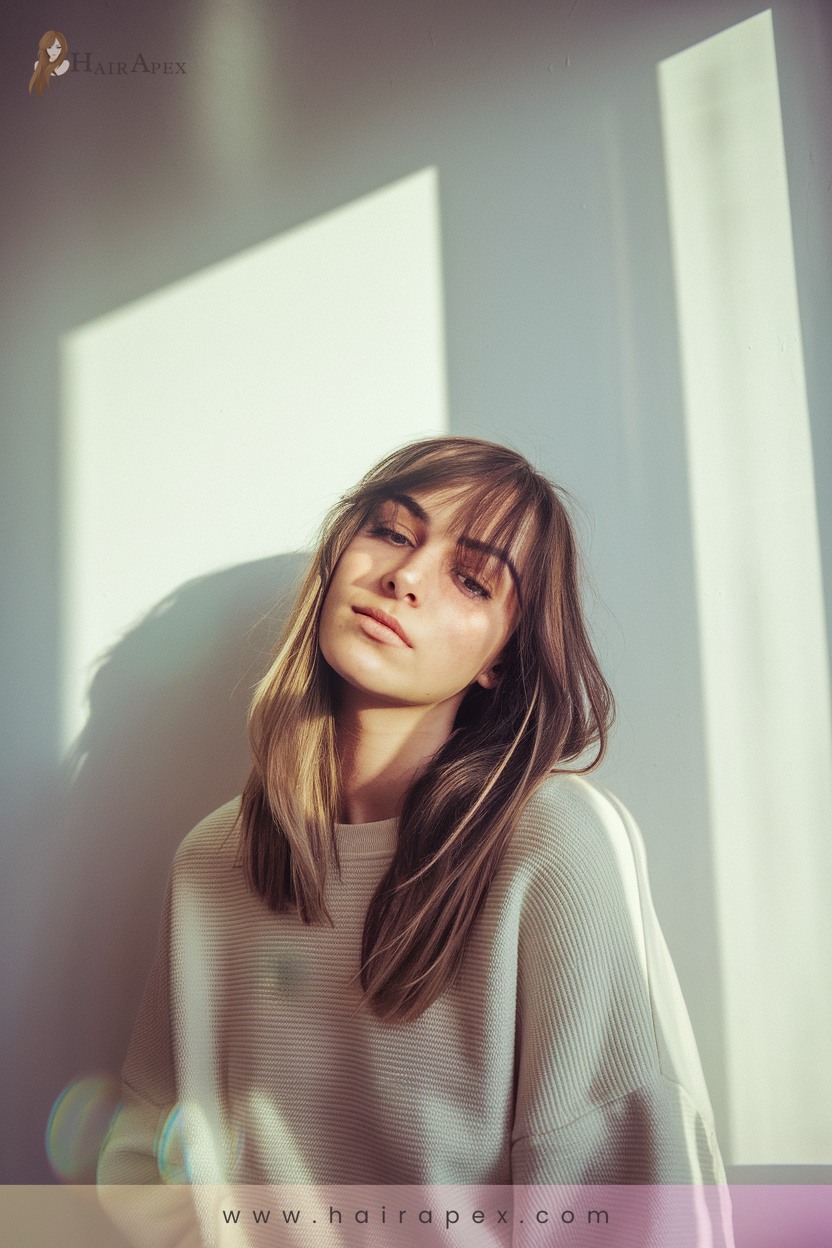
5. Curtain Style Bangs
Curtain style bangs bring a timeless and versatile look to your hairstyle, and mastering them starts with proper sectioning and preparation.
Begin with a precise middle part for symmetry. Section your bangs into a triangle, extending from the tip of your head to your eyebrow’s peak.
Clip back the rest of your hair to avoid mishaps.
While dry cutting offers instant results, wet or dry hair can be used. Comb through the bangs for evenness.
Cut a vertical guide using your nose as a reference. Diagonally trim the sides, using your fingers to guide the angle.
Cut incrementally to maintain control.
Thin thicker sections with thinning shears and point cut for a soft edge. Finally, blend layers diagonally, ensuring a seamless shift.
6. Blunt Angled Bangs
Blunt angled bangs offer a striking, modern edge to your look, and achieving them requires precise technique. Start by determining the length: pull the hair straight up and use your eyebrows to guide the sectioning.
Create an upside-down V at the eyebrow corners, twist the hair forward, and cut at an angle from the cheekbone.
Achieve precision with these steps:
- Use three guides: Balance the line with guides on both sides and in the center. Keep minimal tension.
- Styling tips: Curl 1-inch hair sections away from the face for loose waves or use a round comb for a curve.
- Avoid common mistakes: Don’t cut too much at once, skip guides, or forget to twist for tension.
Innovate with confidence!
7. Soft Curved Bangs

Soft curved bangs add a touch of elegance to your hairstyle, offering a subtle, sophisticated frame to your face.
Start by sectioning the face frame area, combing it forward at a 45-degree angle. Twist the section once for tension, then cut a V-shaped section using point cutting to detail and layer the fringe.
This technique prevents heaviness and adds dimension.
Round the edges for a softer, curved effect. Use quality scissors and combs for precision.
Style with a round brush, drying the bangs by blowing down, then rolling back to enhance the curve. Add volume by focusing on the roots.
Finish with a texturizing spray or dry shampoo to boost texture and natural movement, perfecting your innovative look.
8. Pixie Cut Bangs
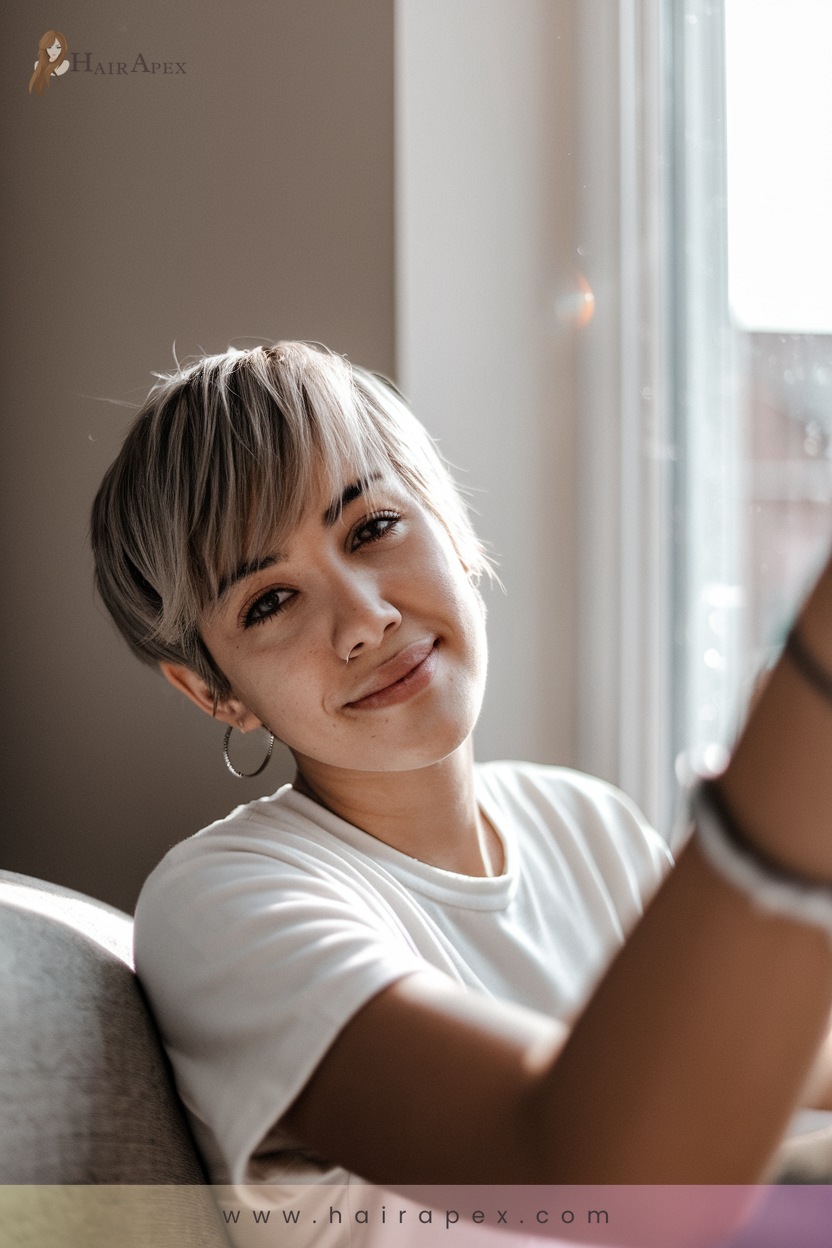
When tackling pixie cut bangs, you’ll often find that precision and technique are key to achieving a chic, head-hugging silhouette. Start by sectioning the hair vertically to maintain balance.
Diagonal cutting is your ally for crafting that rounded structure. Elevate sections to achieve a graduated shape, guaranteeing a polished finish.
Use a wide-tooth comb to drape the hair naturally, and opt for dry cutting scissors for control and accuracy.
For a soft, texturized look, incorporate point cutting and razor techniques.
Styling is equally important:
- Blow-dry using a nozzle to refine shape.
- Texturize by cutting notches to create visual interest.
- Finish with a light hold spray to maintain flexibility.
Visual inspection throughout guarantees perfection in every snip.
9. Micro Fringe Bangs
Achieving the perfect micro fringe bangs requires a blend of precision and the right tools. Start by wetting your hair and combing to locate the high point of your head.
Rest the comb to find where it rocks forward and observe your hair’s natural fall to determine the desired length.
For cutting, opt for a Sam Villa razor, ensuring a fresh blade for precise texturizing. Utilize zigzag strokes to add texture, and maintain tension with your comb.
Section horizontally, using dry cutting clips, then proceed with vertical sections.
Elevate hair to 90 degrees and employ point cutting for soft edges. Style by blow-drying with medium airflow, using a handle comb, and finish with a lightweight, salty product for texture.
10. Shaggy Side Bangs
For those looking to create a stylish and effortless look, mastering the art of shaggy side bangs is essential. Start by sectioning out a triangular fringe area to guarantee a seamless blend.
Using point cutting and parallel cutting techniques, you can achieve a smooth finish. Overdirect the fringe to the middle, allowing for longer side lengths.
Refine by removing excess weight and blending with the rest of your hair.
To style your bangs with a curtain effect:
- Divide the fringe into subsections and point cut from one corner to the other.
- Comb to the opposite side for a seamless blend, adjusting length to avoid obstruction.
- Layer using vertical sections, cutting at a 45-degree angle for texture.
Embrace these innovative techniques for a dynamic hairstyle.
11. Asymmetrical Bangs
Asymmetrical bangs are a bold and stylish choice for those looking to add a unique twist to their hairstyle. They’re cut at an angle, with one side shorter than the other, creating a modern and edgy look.
To achieve this, start by sectioning a triangle at the front. Use diagonal forward sections from the parting to the hairline as your cutting guide.
Keep your fingers parallel to maintain precision.
A mini paddle brush and straightening iron will help you style your bangs with volume and direction. Remember, slicing the ends adds texture.
Consider your face shape and hair texture to tailor the bangs perfectly. Regular trims are essential to maintain the asymmetry and prevent uneven growth.
12. Curly Side Bangs
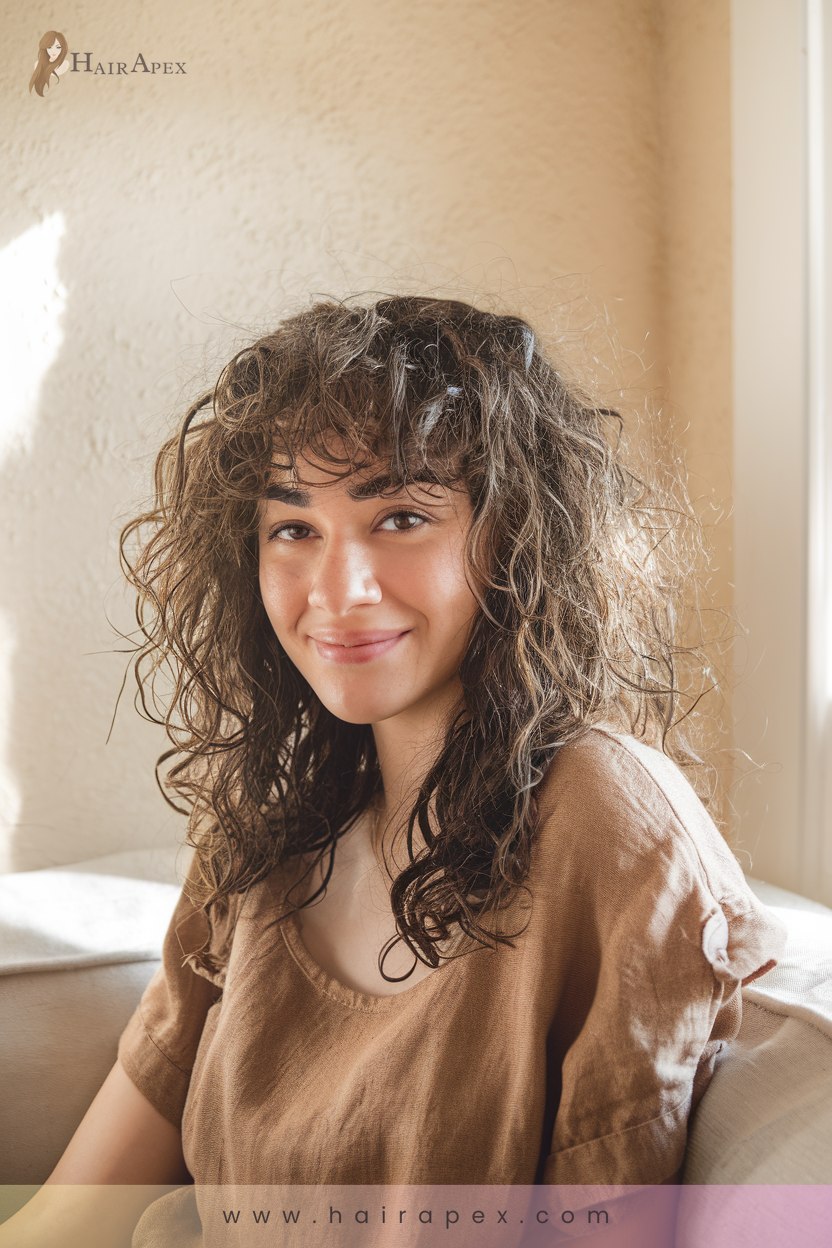
Curly side bangs can transform your look with their playful and dynamic texture, but how do you guarantee they complement your natural curls? Start by sectioning your hair properly.
Verify the triangle section is even and centered, and always cut the bangs dry to respect the curl pattern.
Follow these expert steps:
- Cut Vertically: Use an angled vertical cut for precision and natural flow. Avoid horizontal cuts that disrupt curl patterns.
- Leave Length: Keep the sides longer to create a flattering contour, considering curl shrinkage when dry.
- Style Smartly: Moisturize with hair oil or wax to define curls, and dry gently to minimize frizz.
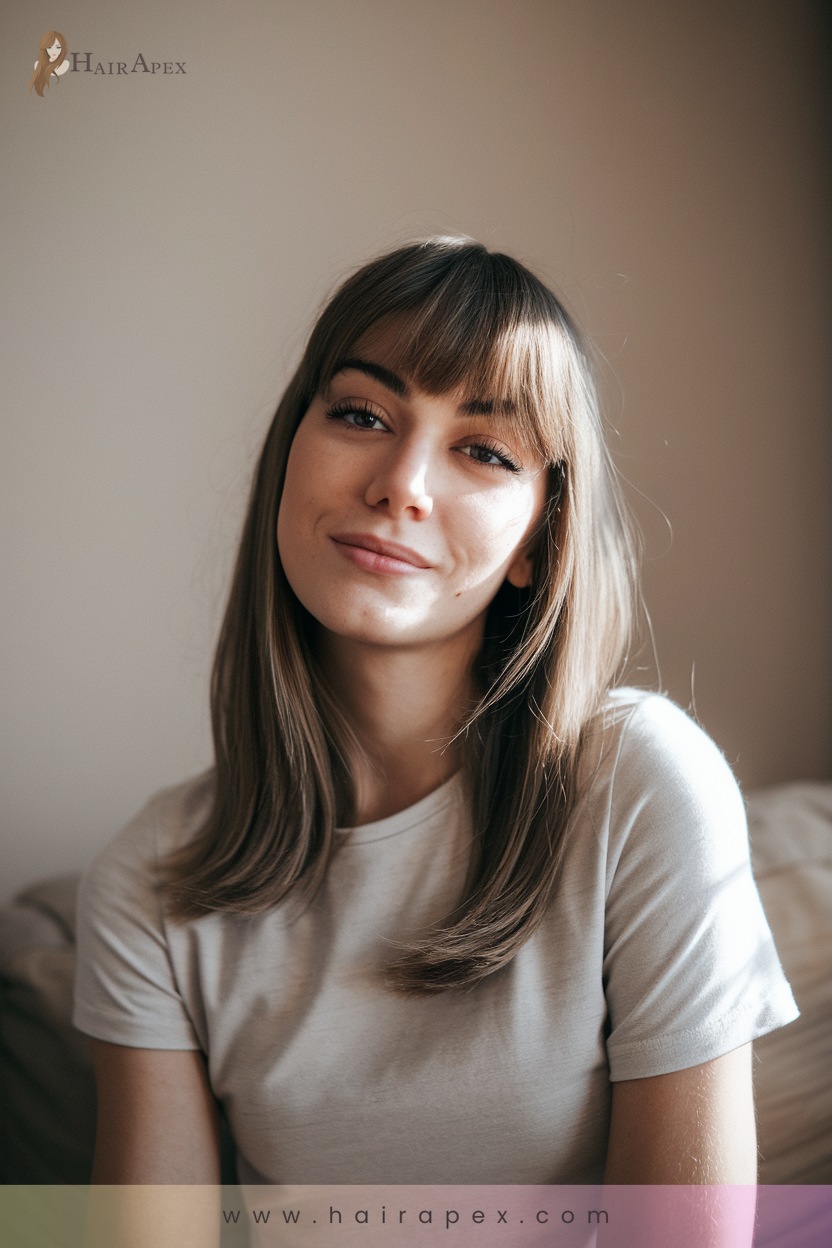
13. Deep Side Part Bangs

Achieving the perfect deep side part bangs can dramatically enhance your hairstyle, providing a chic, sweeping effect.
Start by determining the bang height using the highest point of your head as a guide. Create a triangular section from your hair’s recession points to define the bang area.
Verify your hair is dry and styled before cutting, as this guarantees the most accurate length and fall. Use professional hair scissors or thinning shears, cutting diagonally for a side-swept look.
Maintain control by keeping your fingers parallel to the hairline and making small, gradual cuts. For styling, employ a round brush and blow dryer to accentuate the sweep.
Blend with thinning shears for texture, avoiding a choppy appearance.
14. Voluminous Side Bangs
When it comes to creating voluminous side bangs, a few strategic techniques can transform your look with ease. Start by curling your hair away from your face, and don’t forget to flip it over for added volume.
Tease the hair at the root using backcombing products to amplify fullness. Here’s a quick guide to achieve those perfect voluminous side bangs:
- Technique: Use tight curls at the front, then flip them to the side for an instant lift.
- Styling: Tease the side of your hair post-curling to secure volume and hold.
- Cutting: Cut bangs diagonally with professional hair scissors for precision and an enhanced sweep.
15. Messy Side Bangs
Voluminous side bangs may offer a sleek, polished look, but sometimes you want a more relaxed and carefree style. To achieve messy side bangs, start by creating a middle part and sectioning a triangle area.
Clip back the rest of your hair to prevent accidental cuts.
Use professional scissors, and begin trimming diagonally with small, gradual cuts. Always use a face reference point for the shortest part to maintain balance.
Blow dry and straighten first to see the true fall of your bangs.
Avoid cutting wet hair or pulling it outward—this can lead to shorter or uneven results. For the final touch, add texture by cutting upwards at the ends, then style with a curved motion and secure with hair spray.
16. Sleek Straight Bangs
Creating sleek straight bangs requires precision and attention to detail. Begin by blow drying and straightening your hair to see where the bangs naturally fall.
Use a pin tail comb for alignment and section off a 1 to 2-inch width in front, securing the rest in a ponytail. Professional hair scissors are essential for clean, even cuts.
Here’s a step-by-step guide:
- Diagonal Cutting: Cut diagonally downward, taking small amounts at a time while constantly opening and closing the scissors.
- Texture Addition: Divide bangs in half and cut upwards for texture; use a stationary guide.
- Finishing Touches: Blow dry again, smooth with a straight iron, and curve slightly with styling spray for a polished look.
Maintain with regular trims for best results.
17. Tapered Side Bangs
Anyone looking to update their hairstyle with a modern edge will find tapered side bangs to be an excellent choice. This style features longer hair at the front, complemented by a taper fade on the sides and back, creating a striking contrast.
Start with clean, damp hair for precision. Clip the top section away, then use clippers to taper the sides, starting with longer guards and blending upwards.
Unclip and comb the top forward, cutting the fringe to your desired length above the eyebrows. Add texture by cutting vertically at varying angles.
For styling, apply lightweight cream for a messy look, or use pomade for sleekness. Finish with a light hold hairspray to maintain your innovative, professional appearance.
18. Face-Framing Bangs
Face-framing bangs are a fantastic way to enhance your features and add dimension to your hairstyle. To achieve this innovative look at home, follow these expert steps.
Begin by sectioning the hair, ensuring you create a smaller triangle within the bangs from the outer eye corner. Use point cutting with sharp scissors like the Jatai Tokyo 5.5″ Scissor for precision, focusing first on a central section to establish length.
Finally, blend layers seamlessly by angling your fingers correctly and ensuring smooth integration with existing hair.
Key Steps:
- Sectioning and Triangle Creation: Define the area with precision.
- Point Cutting: Employ this technique for a solid, defined finish.
- Blending Layers: Angle fingers accurately to avoid dragging sections.
Embrace this method for a chic, modern hairstyle.
Frequently Asked Questions
How Do I Prevent My Side Bangs From Getting Oily Quickly?
To prevent side bangs from getting oily quickly, wash them more frequently than the rest of your hair using a gentle shampoo.
Incorporate dry shampoo to absorb excess oil on non-wash days.
Opt for light, non-greasy styling products, and avoid heavy formulas.
Regular trims help manage oil buildup, while sweeping bangs to one side can conceal oiliness.
A weekly clarifying shampoo and scalp scrub maintain a clean base, enhancing innovative styles.
What Tools Are Best for Cutting Side Bangs at Home?
You’ll want scissors that slice like silk, a comb that parts with precision, and clips that hold like a gentle breeze.
Opt for professional shears to guarantee clean cuts and avoid jagged edges. Use a CreaClip to maintain level cuts.
Wetting hair with a spray bottle can provide control. Consider a razor for texture and a flat iron for sleek results.
Elevate your style with texturizing sprays and protective serums.
How Can I Maintain Side Bangs During High Humidity?
To maintain side bangs during high humidity, prioritize the right products and techniques.
Use a humidity-control spray and light serum for frizz management. Choose hydrating shampoos and avoid heavy styling products.
Air dry or use a diffuser for minimal frizz and style slightly damp bangs. Trim regularly, and opt for a layered cut with thinning shears to reduce bulk.
These tips will keep your bangs sleek and stylish, even in humid weather.
Should I Cut Side Bangs if I Have a Cowlick?
Cutting side bangs with a cowlick is possible with the right techniques.
Start by sectioning a triangle, aligning with your eyebrows. Use professional scissors and cut dry in small increments to avoid shrinkage.
Thinning shears help blend the cowlick. Blow-dry bangs against the natural direction, using styling products for hold.
Regular trims maintain shape. This innovative approach guarantees your bangs look stylish while managing the cowlick effectively.
Can I Style Side Bangs Differently for Formal Events?
Absolutely, you can style side bangs differently for formal events.
Experiment with sleek, straightened bangs for a polished look or add soft curls for a romantic touch. Use a light hold hairspray to keep them in place.
Consider tucking them behind your ear for elegance. Utilize tools like a flat iron or curling wand for precision.
Pair with an updo for sophistication. Embrace your creativity and let your style elevate your formal ensemble.
Conclusion
Think of your hair as a canvas, ready for your unique touch. Just like an artist needs the right tools, you’ve got the techniques to transform your look with these DIY side bangs.
Remember Sarah, who snipped her way to confidence by mastering the classic side-swept style? You can too.
With a little precision and flair, you’ll craft bangs that frame your face beautifully, turning everyday moments into runway-worthy occasions. Grab your scissors and let your creativity flow!


